song-snippet
Wireframes
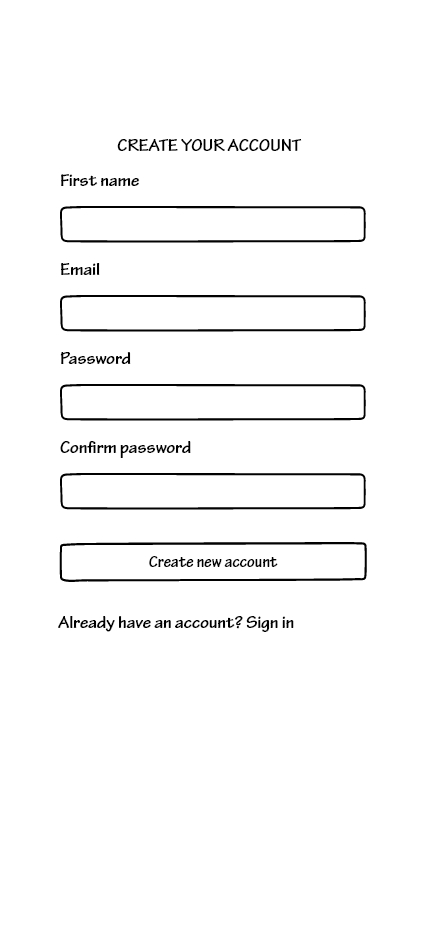
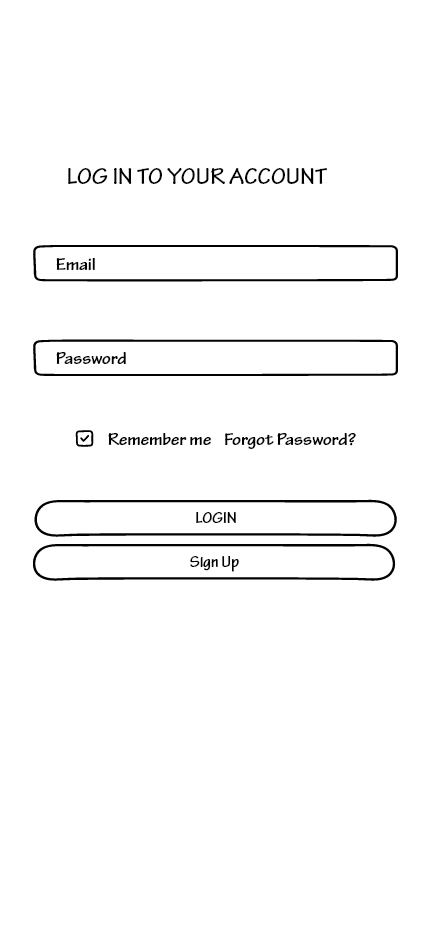
Figure 1: The login and Sign-up forms
When first logging into the application, users will be prompted to first login to their account or sign up for an account. The sign up process is as follows. Users will first enter their name, then their email address. Next, users will set up a password and then be prompted to enter it again to confirm. After completing the login or sign up process, users will be able to access their account and all of its features.
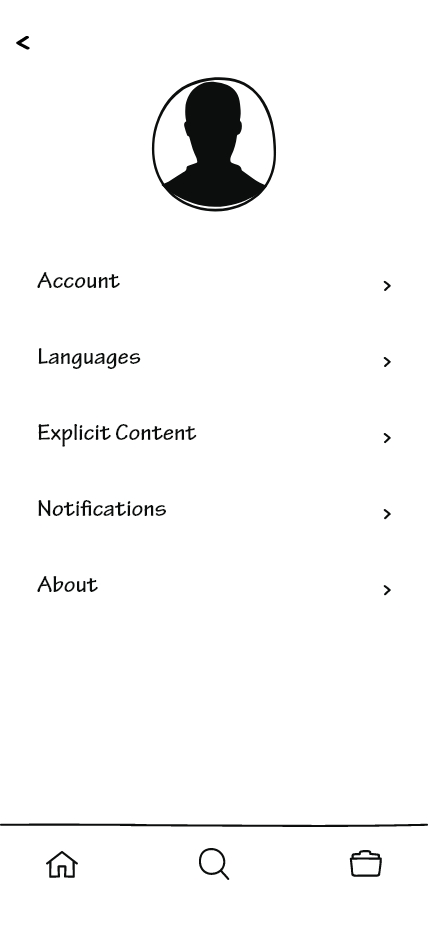
Figure 2: Homepage and Account Information
In the first image, we have the main homepage. This is where users are able to browse for music within genres they want to listen to. There is a recommended playlist image that when tapped on will display all types of music that Song Snippet will think that you may be interested in. When tapping on any of the genre images, it will bring up snippets only in that genre that Song Snippet thinks you would like to listen to. Next, when tapping on the profile icon in the top-right hand corner, it will bring up the Account Information page. This page will display your profile information such as your profile image, account information, the display language, filter explicit content, enable or disable notifications, and the about page. On the bottom of the screen, you will notice a navigation bar that displays three different icons. The first icon takes you to the homepage as indicated by the house icon. The second icon in the middle is the search feature, that allows you to look up specific music that you want to listen to. The final icon on the right hand side is the library icon. This icon will send you to a personal page where it displays custom playlists of songs that you have created and all of the liked songs that you have favorited.
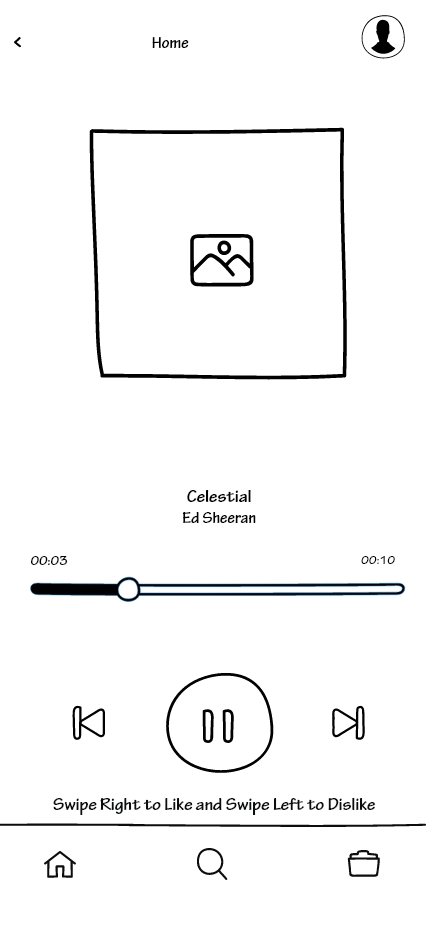
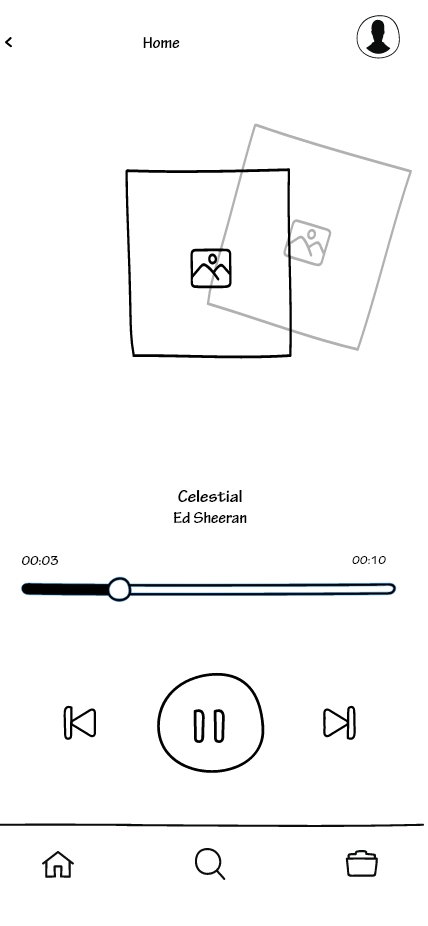
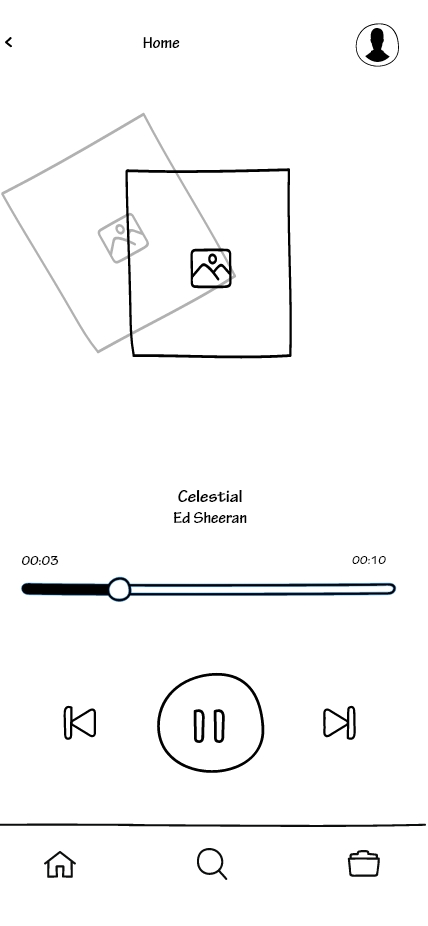
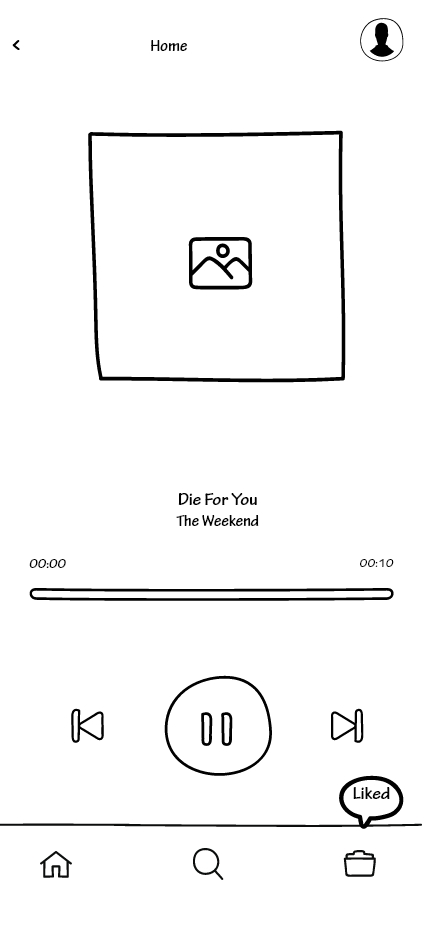
Figure 3: Finding songs, Liking/Disliking, and Adding to Library
After tapping on one of the icons to search for songs, it will bring you to this page. Here it will display the song that is currently playing, the name of the song, the artist, the length of the snippet, a back button to go back to the previous song, a pause/play button, and a forward button to skip to the next song. Below this is a prompt that tells you that the image is swipeable indicating how to dislike and like a song. This message is designed to leave after a short time has passed. This clears up any confusion for the user on how to like or dislike songs. The second and third images show users swiping on the screen to indicate that they are liking or disliking the current song. The fourth image shows that if a user has decided to like a song, that song will be added to their library. The little icon above the library icon will appear notifying the user that the song has been successfully added to their library. When disliking a song, the next song will play with no added icon.
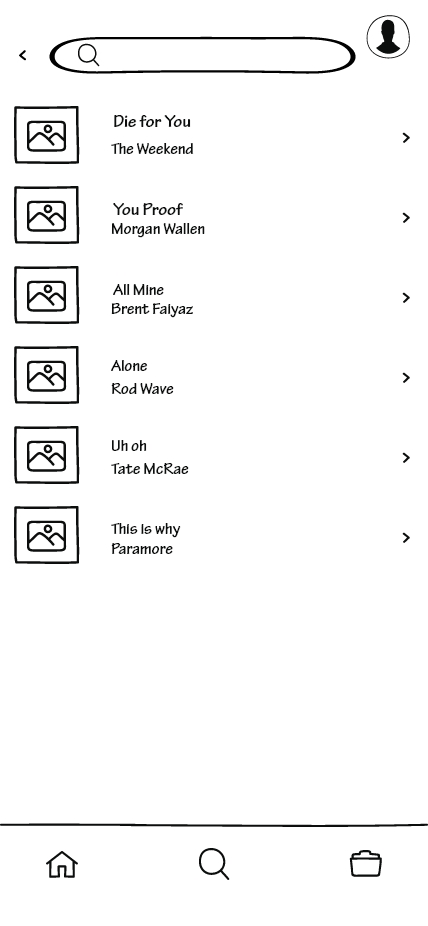
Figure 4: Search
After tapping on the search icon it will bring up the search page. This page will allow users to search for specific songs that users want to listen to. At the top of the search page is the search bar, followed by the search results. Tapping on a song will bring them to the song player in Figure 3. By default the search page will display the search history of the user before a prompt is typed in the search bar.
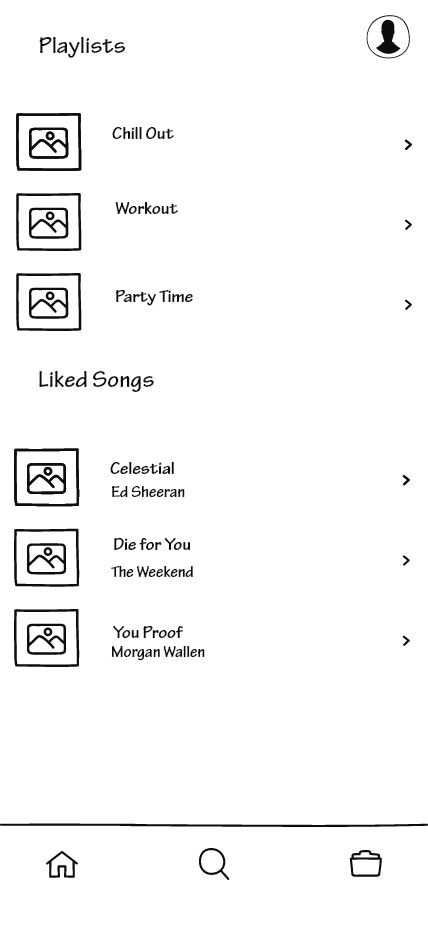

Figure 5: Library and Edit Songs
Tapping on the library icon will display the user’s library. This page shows the user’s custom playlists and liked songs. The user’s custom playlist will be displayed on the top of the page while scrolling down it will display the user’s liked songs. Tapping on the icon on the right of playlist or song selection will display a little pop-up menu that will allow the users to customize the selection. As displayed in the second image, a user is able to add the song to a playlist or remove the song from their library.