fridge
Wireframes
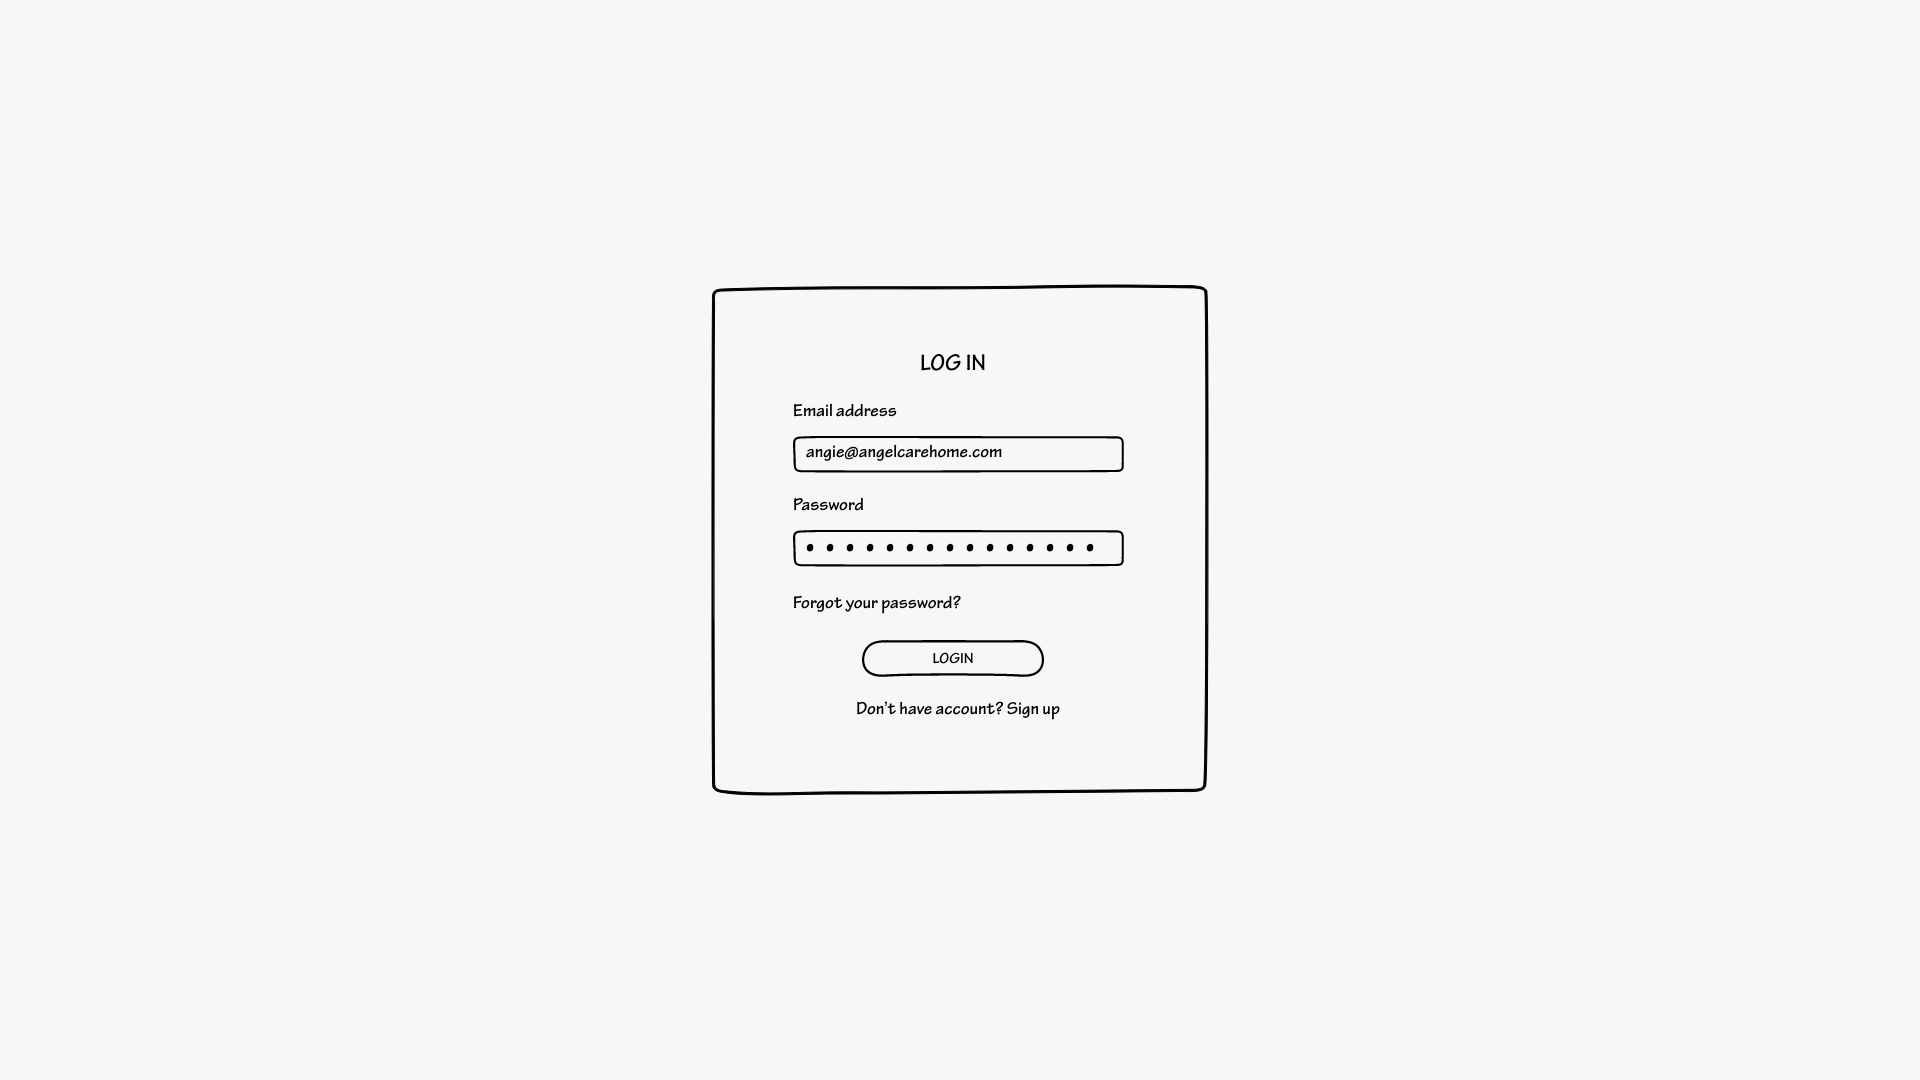
The first page when visiting our webpage is the log in page. Users can log in if they have already made an account, click on “Sign Up” to create an account, or click “Forgot Password” to recover their password.
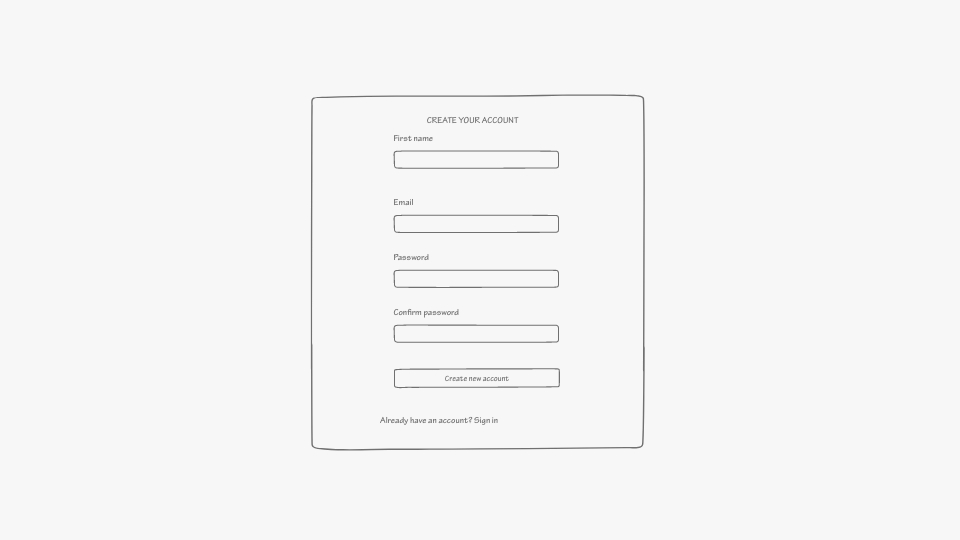
Once a user clicks “Sign Up,” they are prompted to this screen where they will input some user information and create an account.
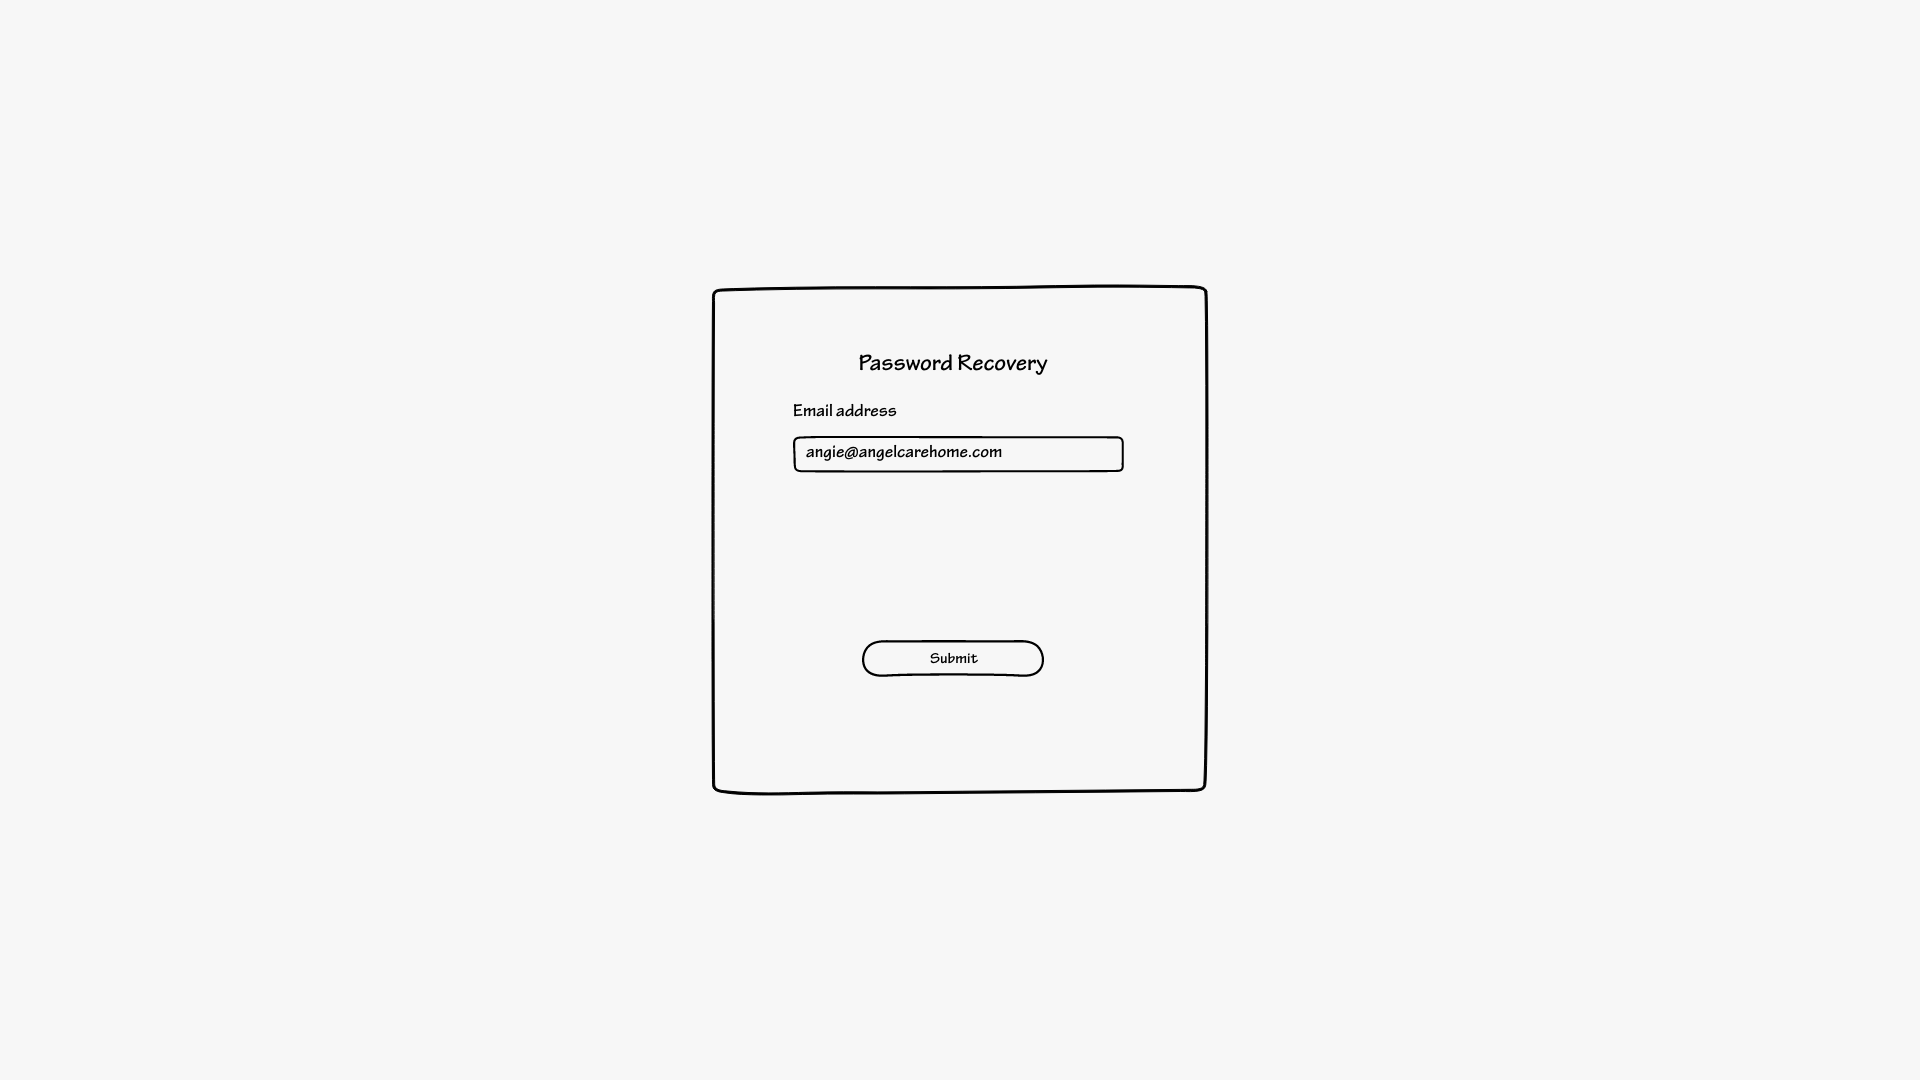
When “forgot password” is clicked, the user enters the email associated with their account and the rest is handled in the user’s email.
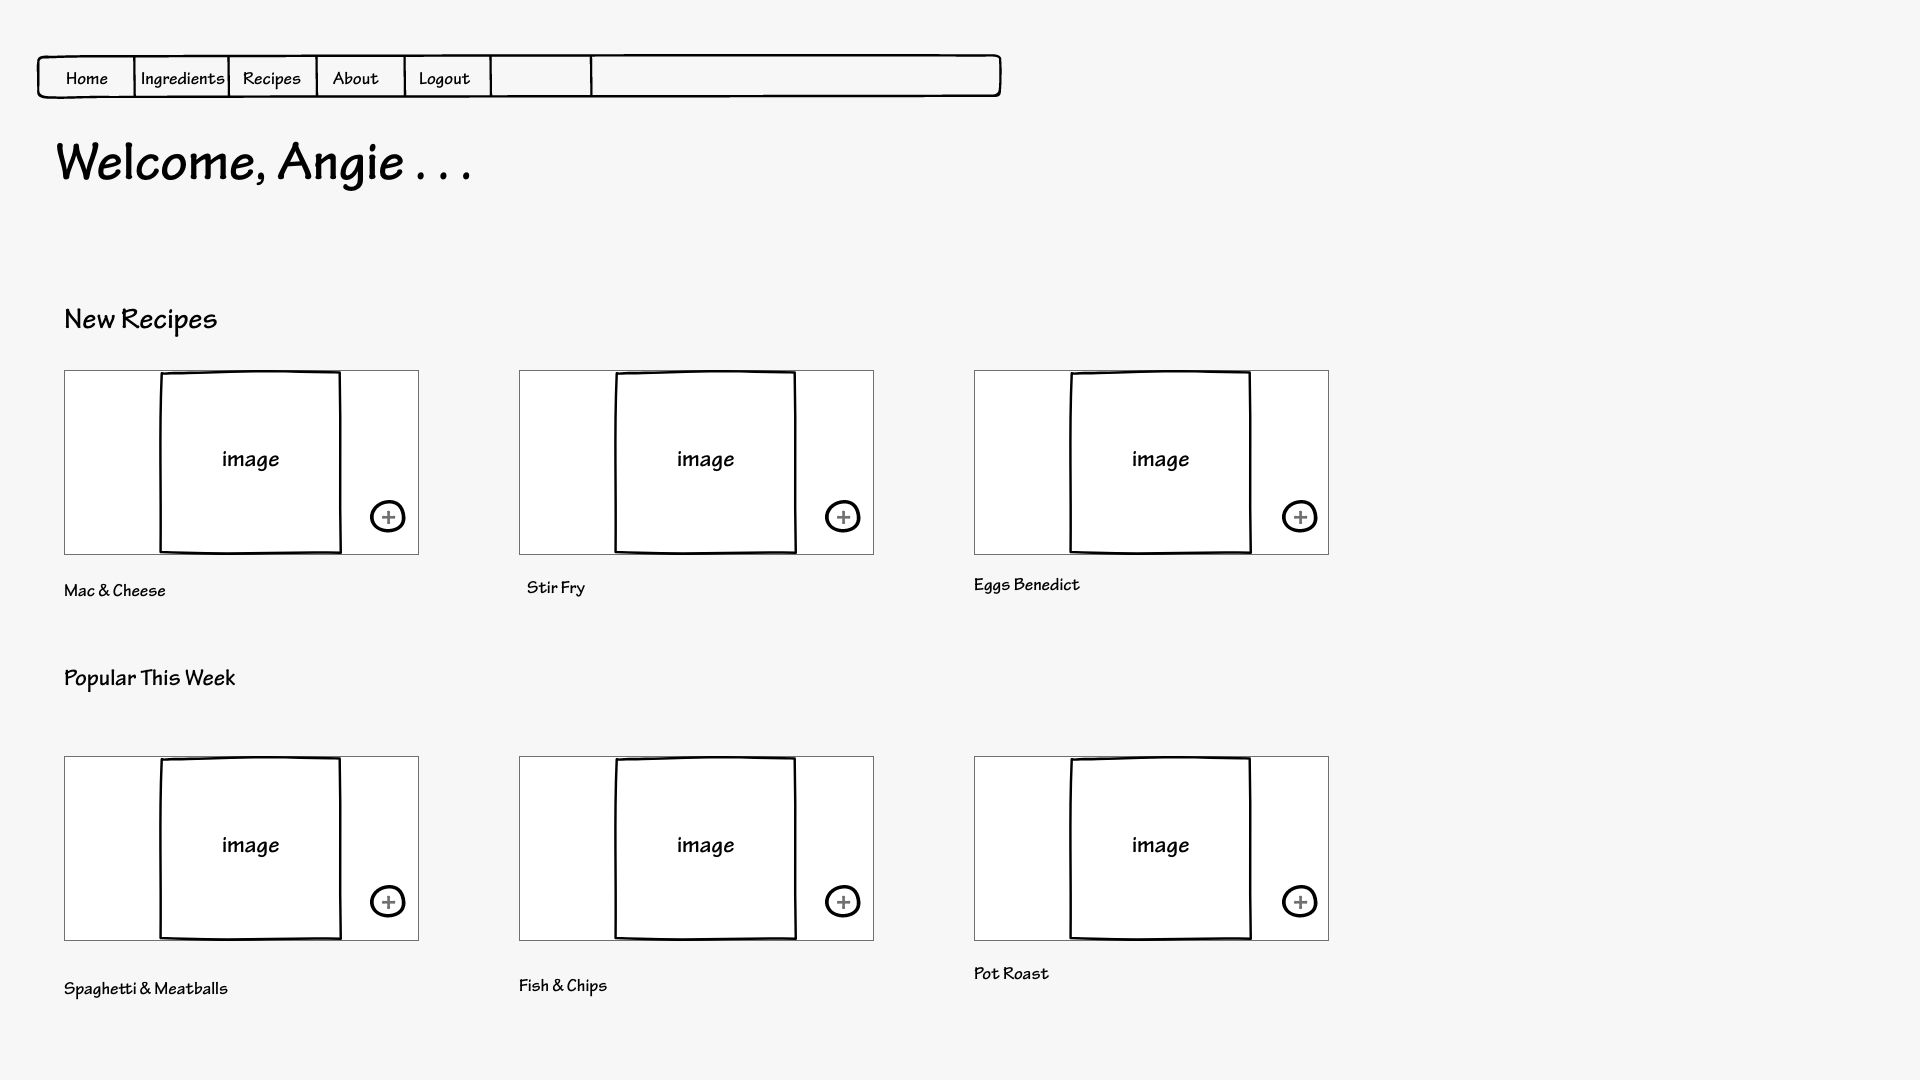
Once a user has logged in, this is the homepage that is prompted right after. The homepage has two rows where one row is the new recipes inputted either by the user or the database and the other row is recipes that are popular that week from our selection. Users can click on the recipe and be prompted to another page that shows all the details for that recipe. Users can also click the add button to add it to the “my recipes” page. (Both pages are shown later down).
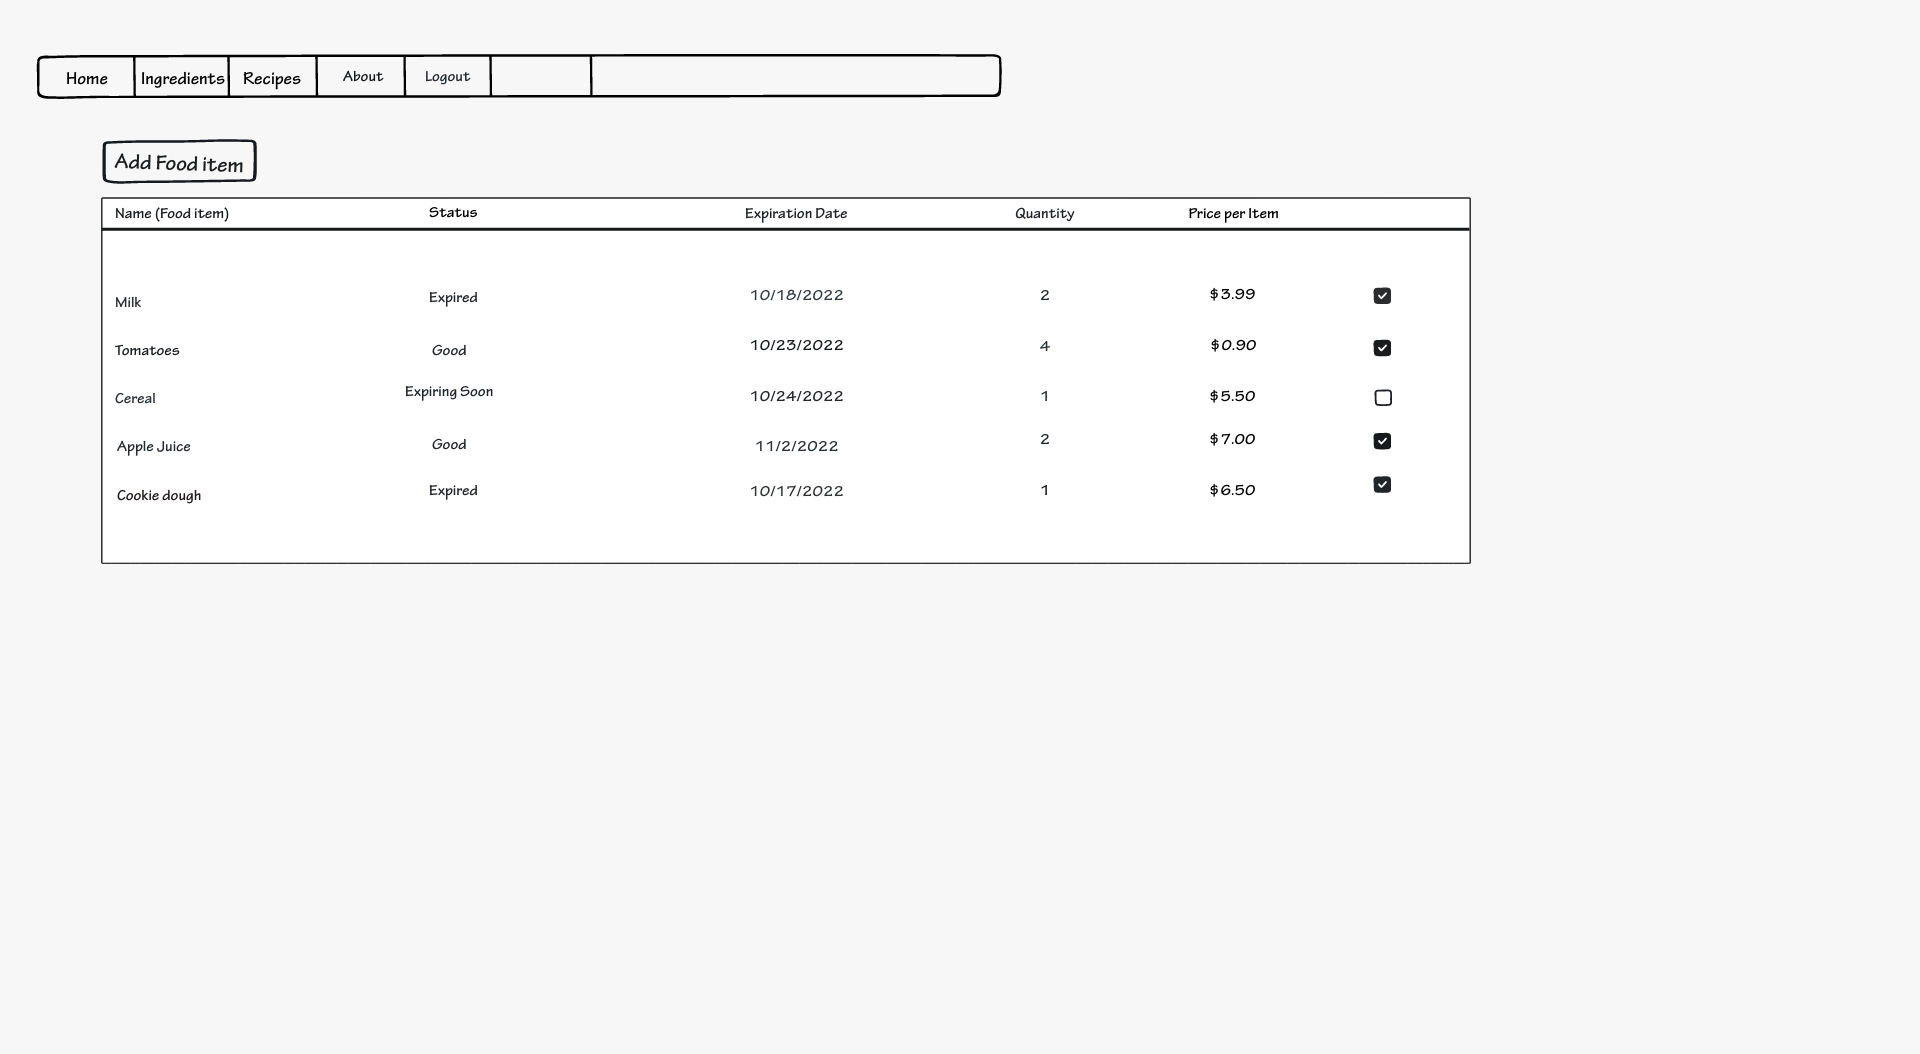
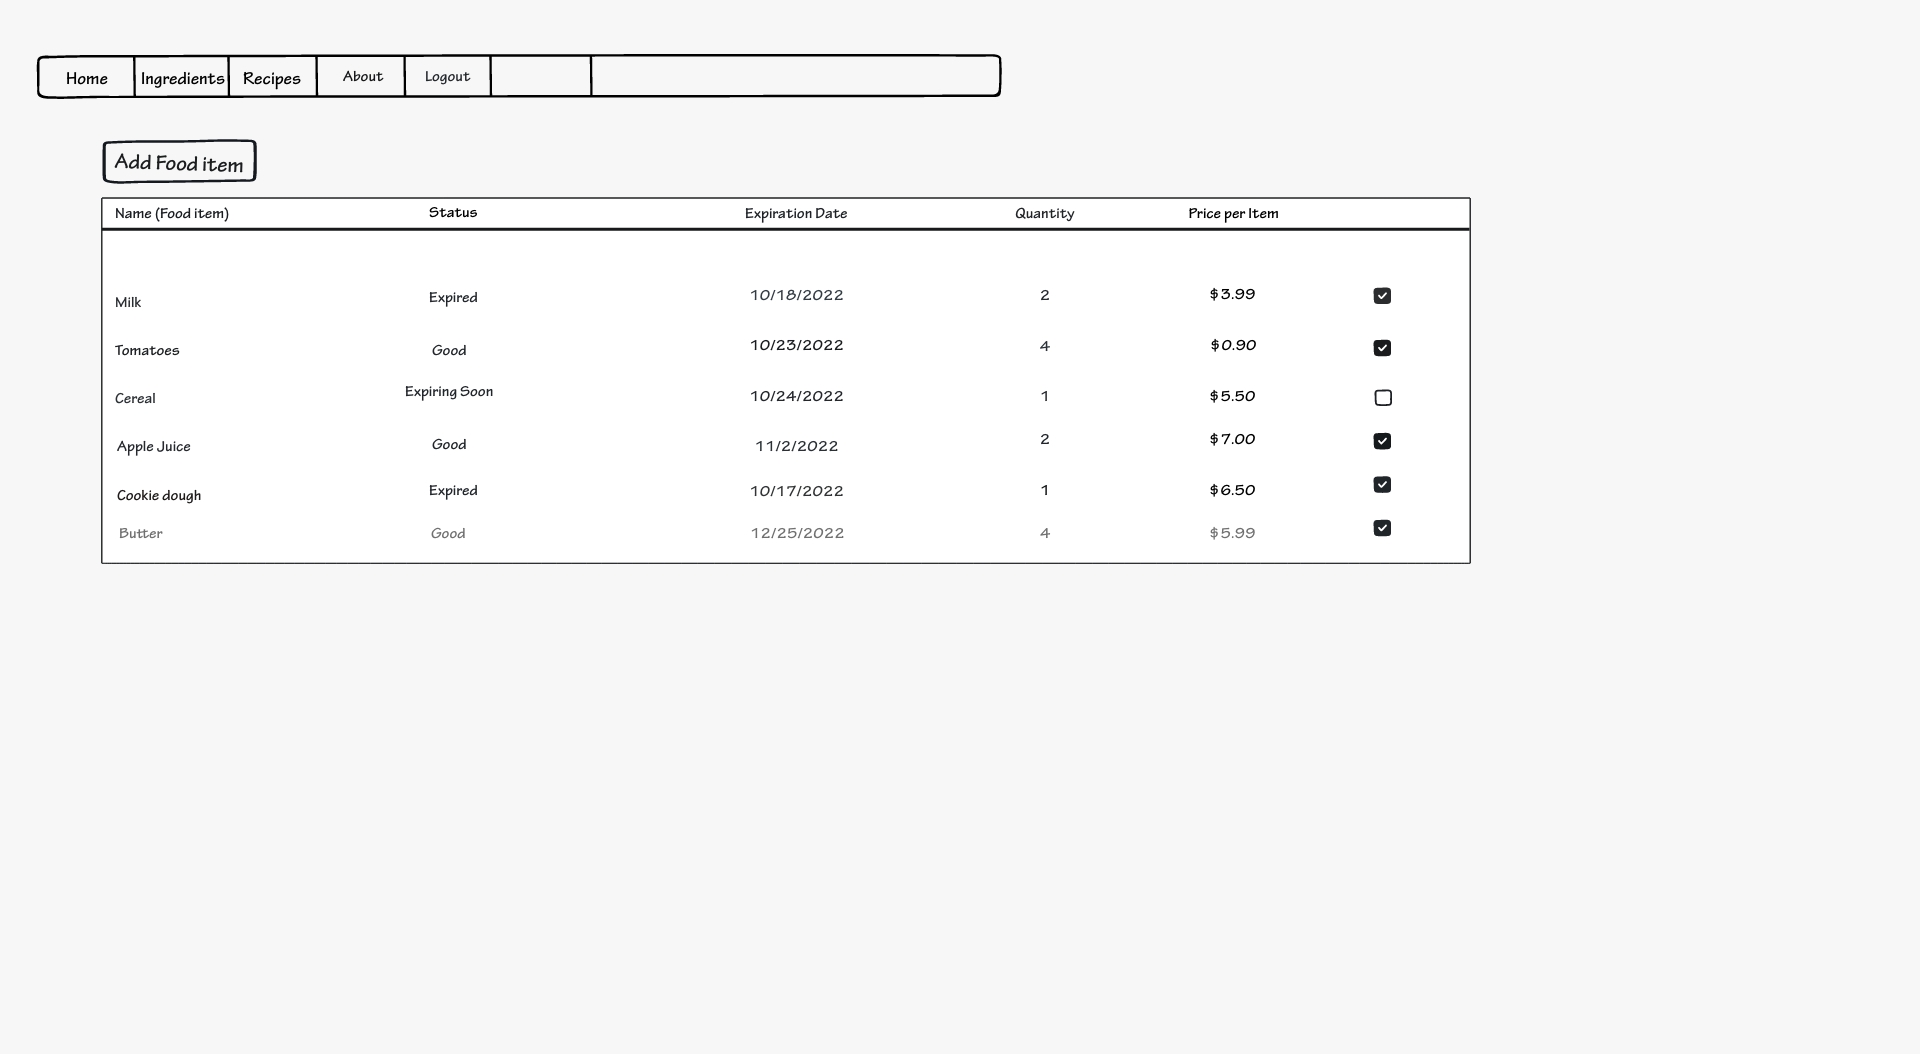
This page shows food items that are currently in stock for the user. It gives a list of items with a status of whether it is good, expiring soon, or expired. Each item also has a quantity and price. Users can click on the “add food item” button to add more food items. The checkbox is to indicate if you want to see that item used in a recipe. If the box is checked, then on the recipe details page it will tell the user if that item is in stock and used in that recipe.
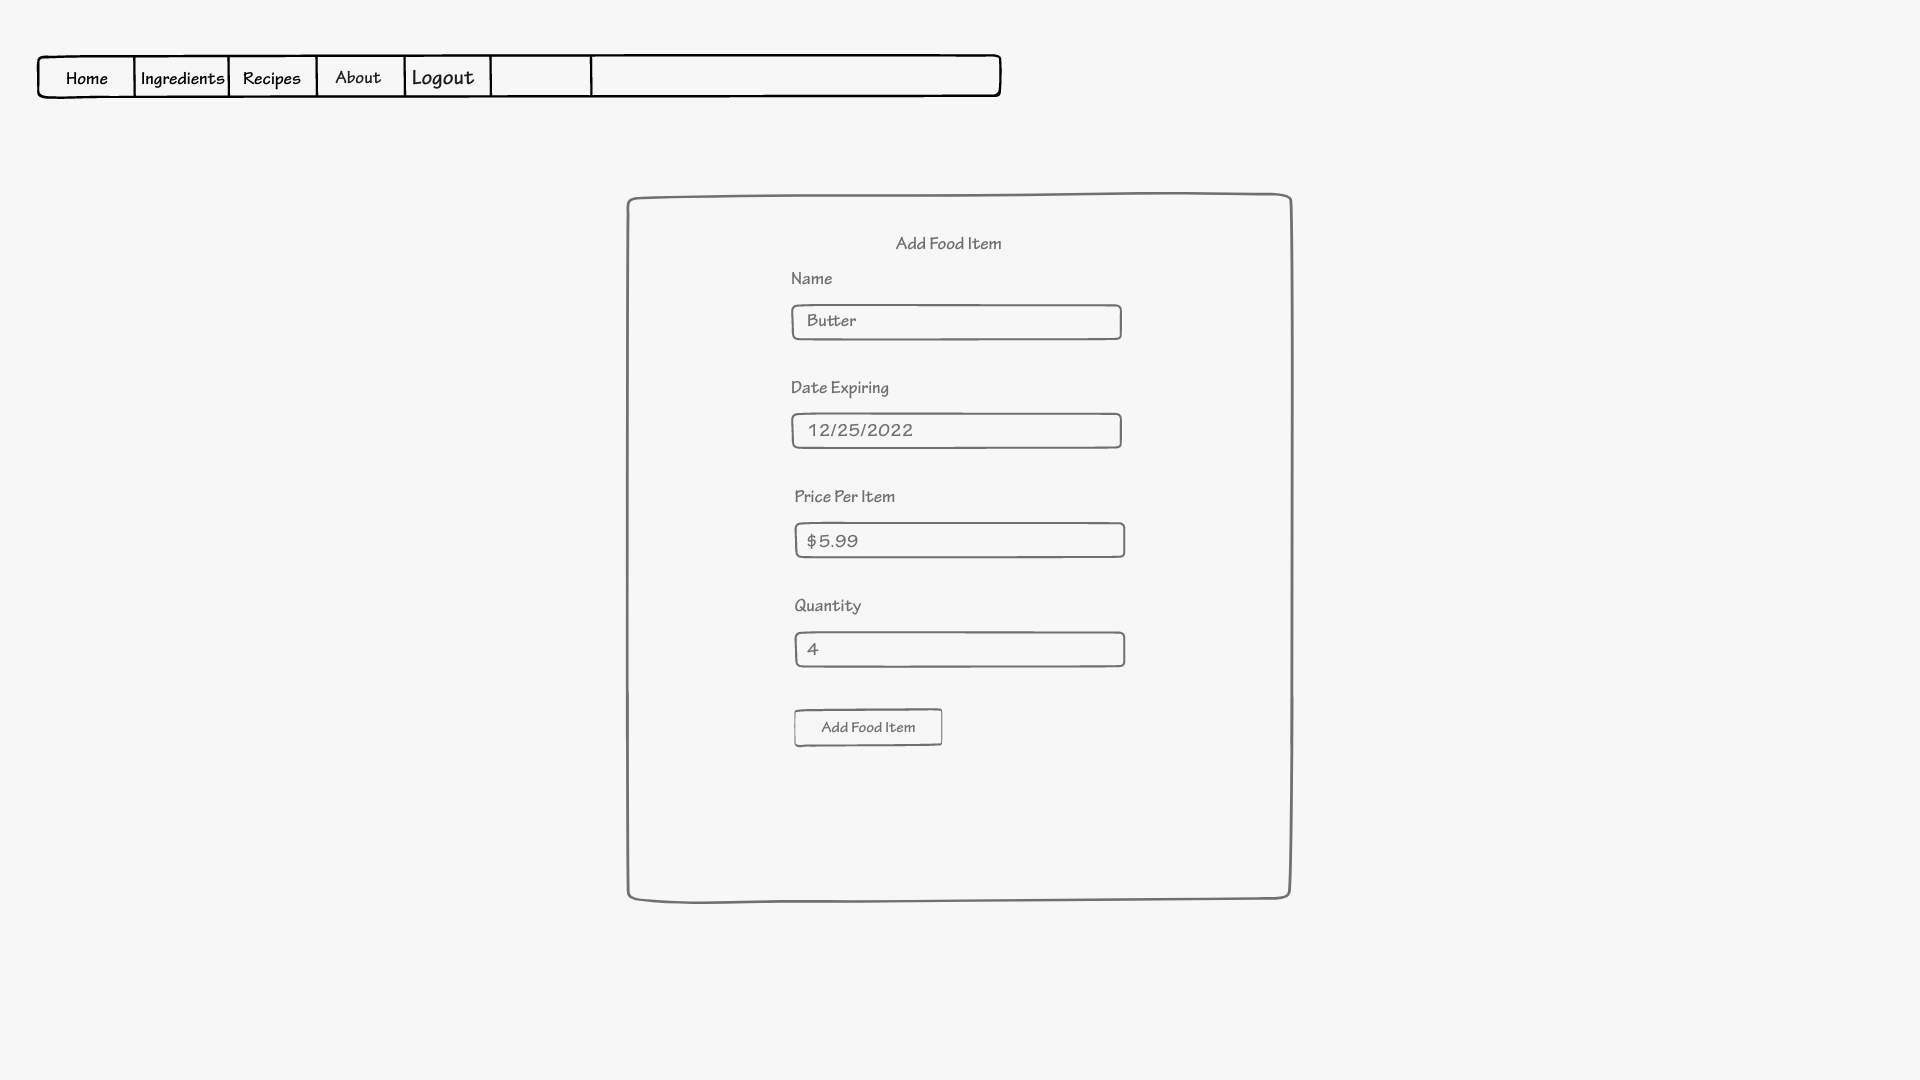
This page allows users to add food items after submitting the necessary information. After clicking the “add food item” button, the food item can be seen in the food items table in the second image below.
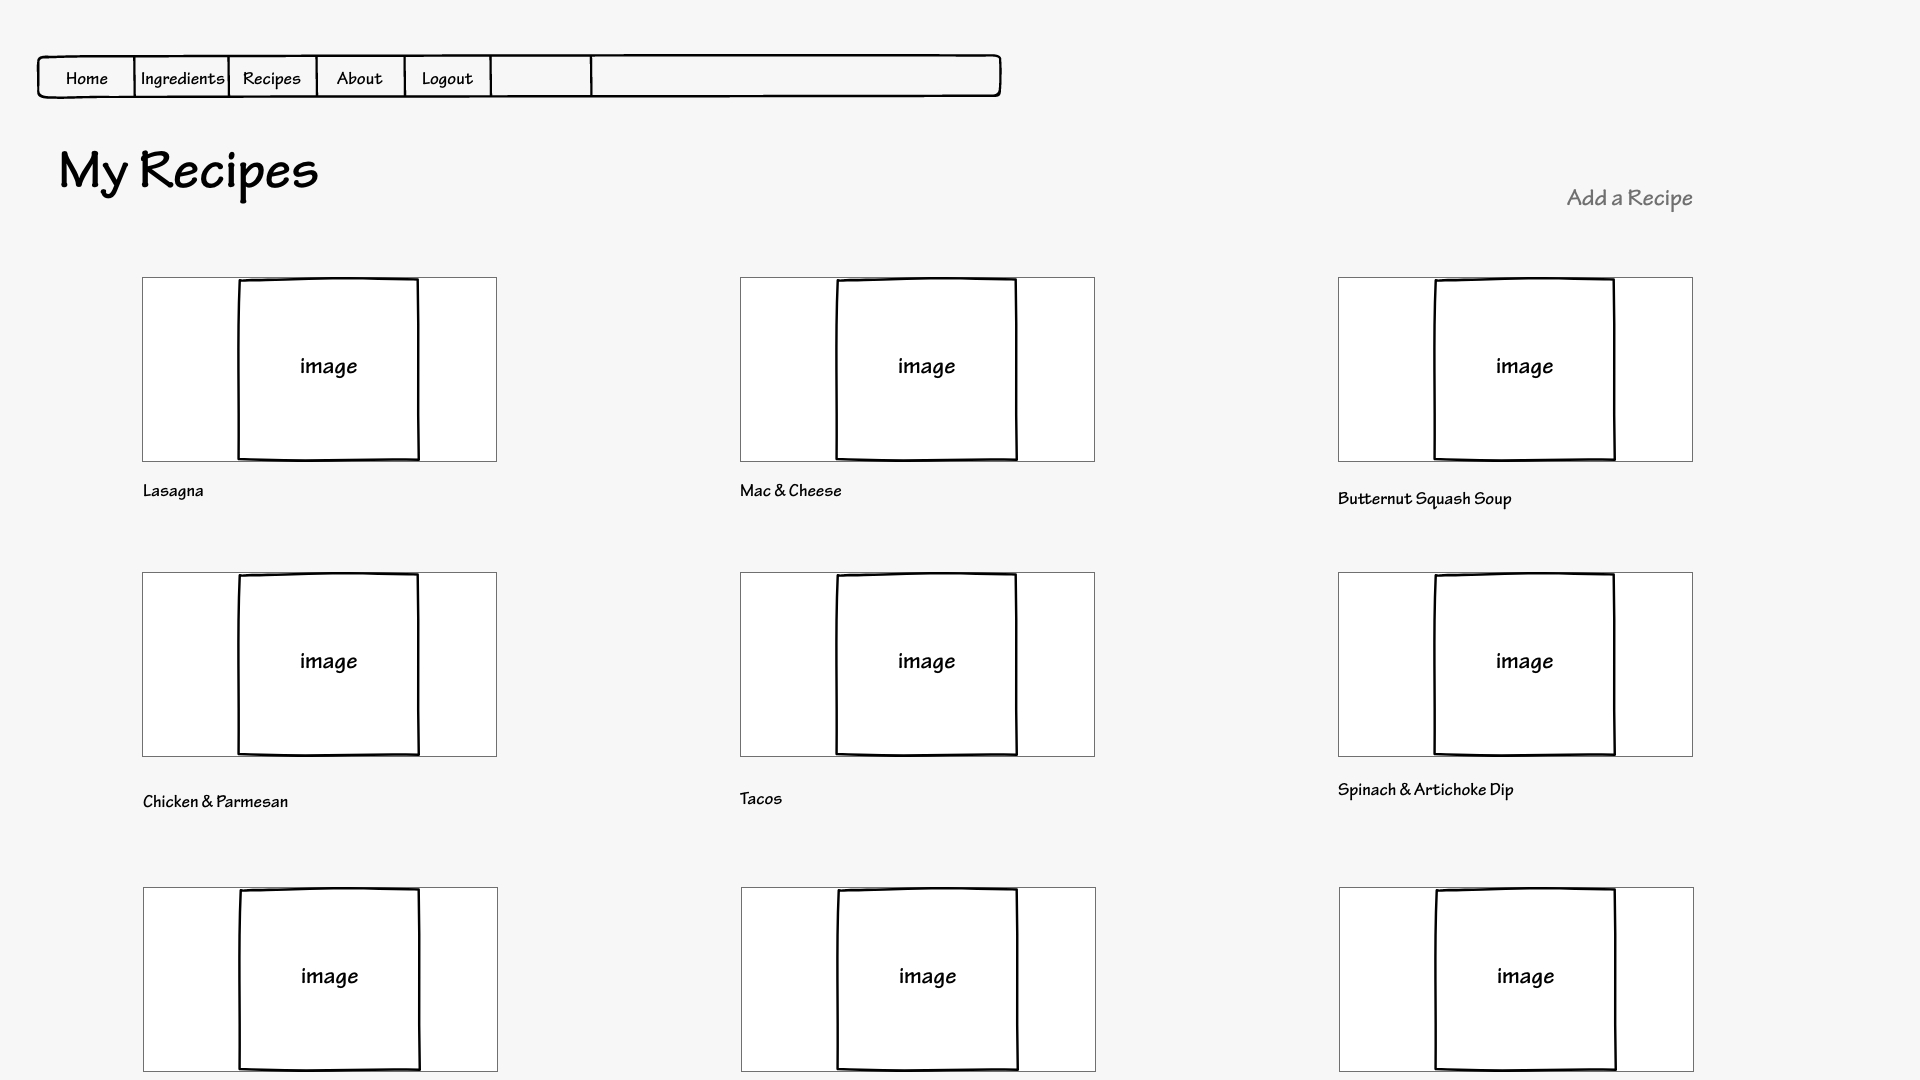
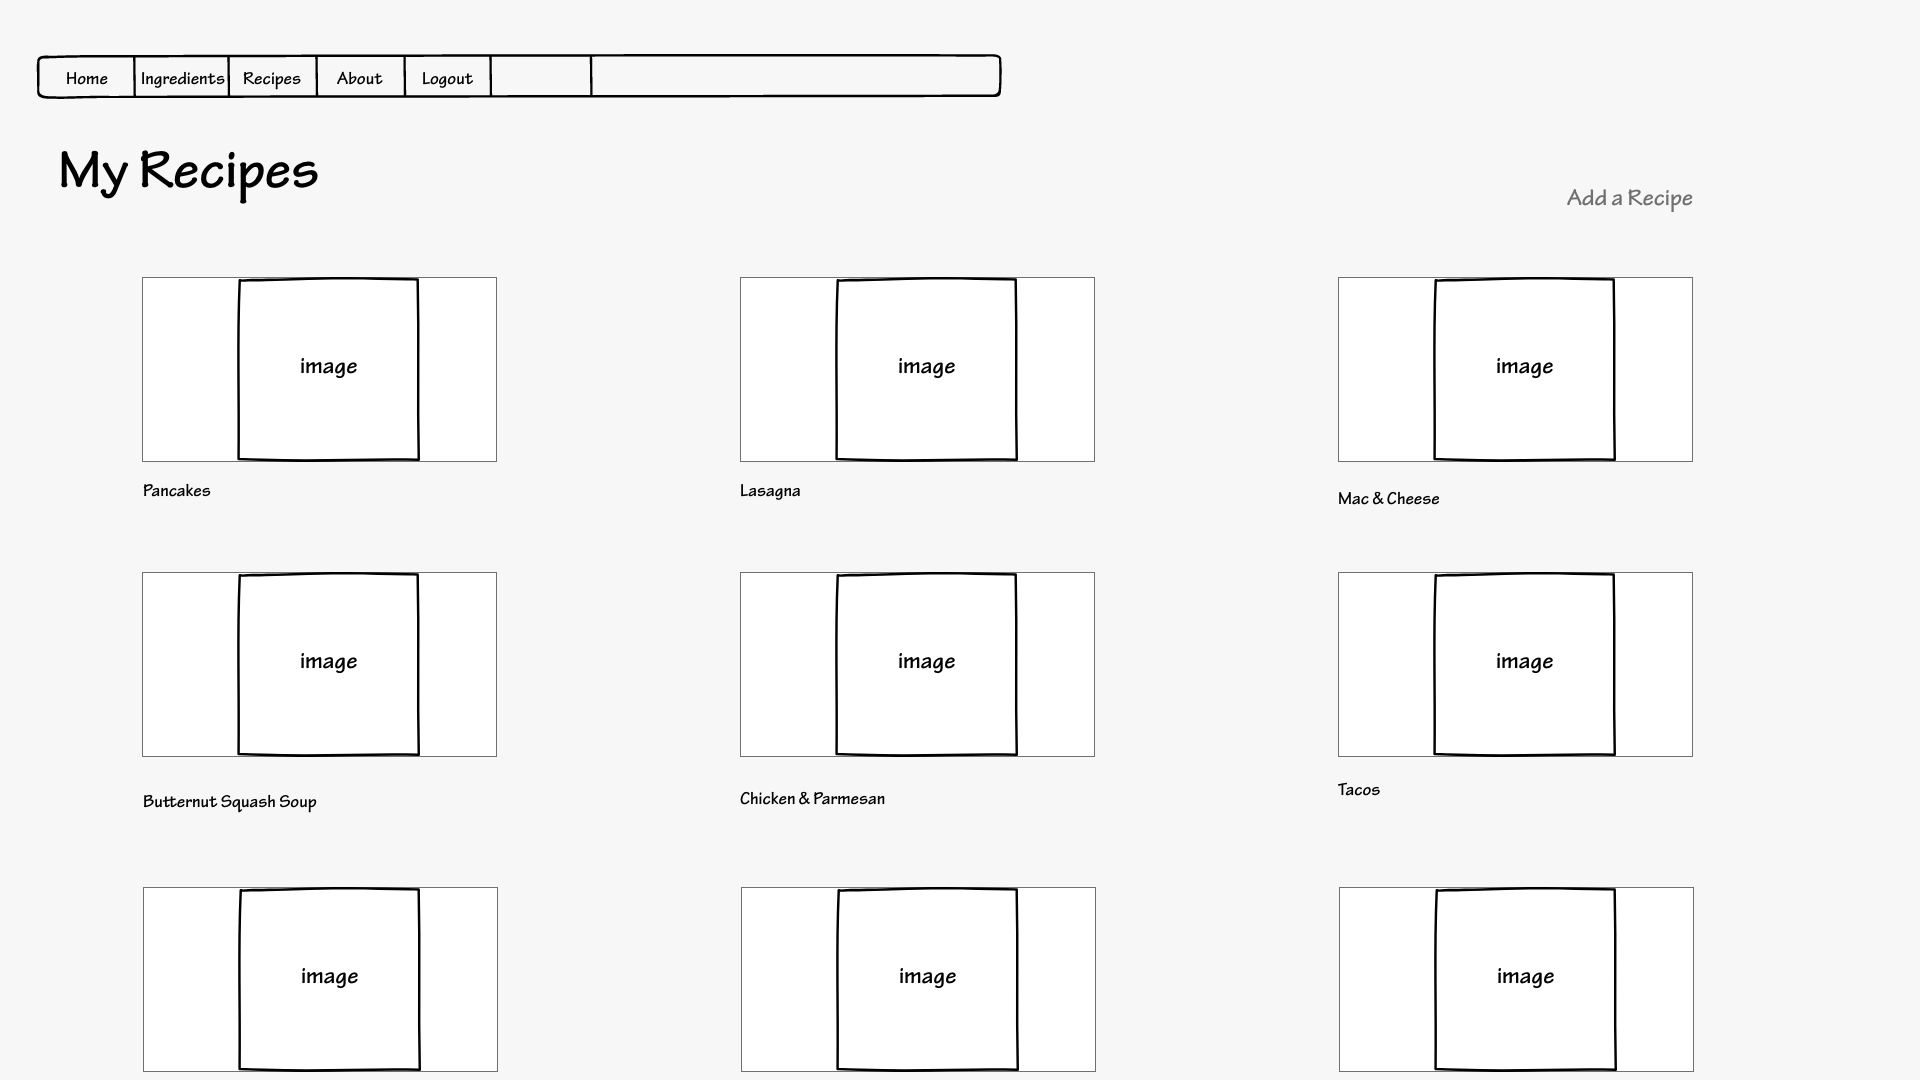
This is the “my recipes” page that holds the user’s saved recipes. The user can click on a recipe and will be prompted to another page with more details about that recipe. This is also the page where the recipes added from the homepage will show up. There is also an add recipe button that prompts the user to add a recipe.
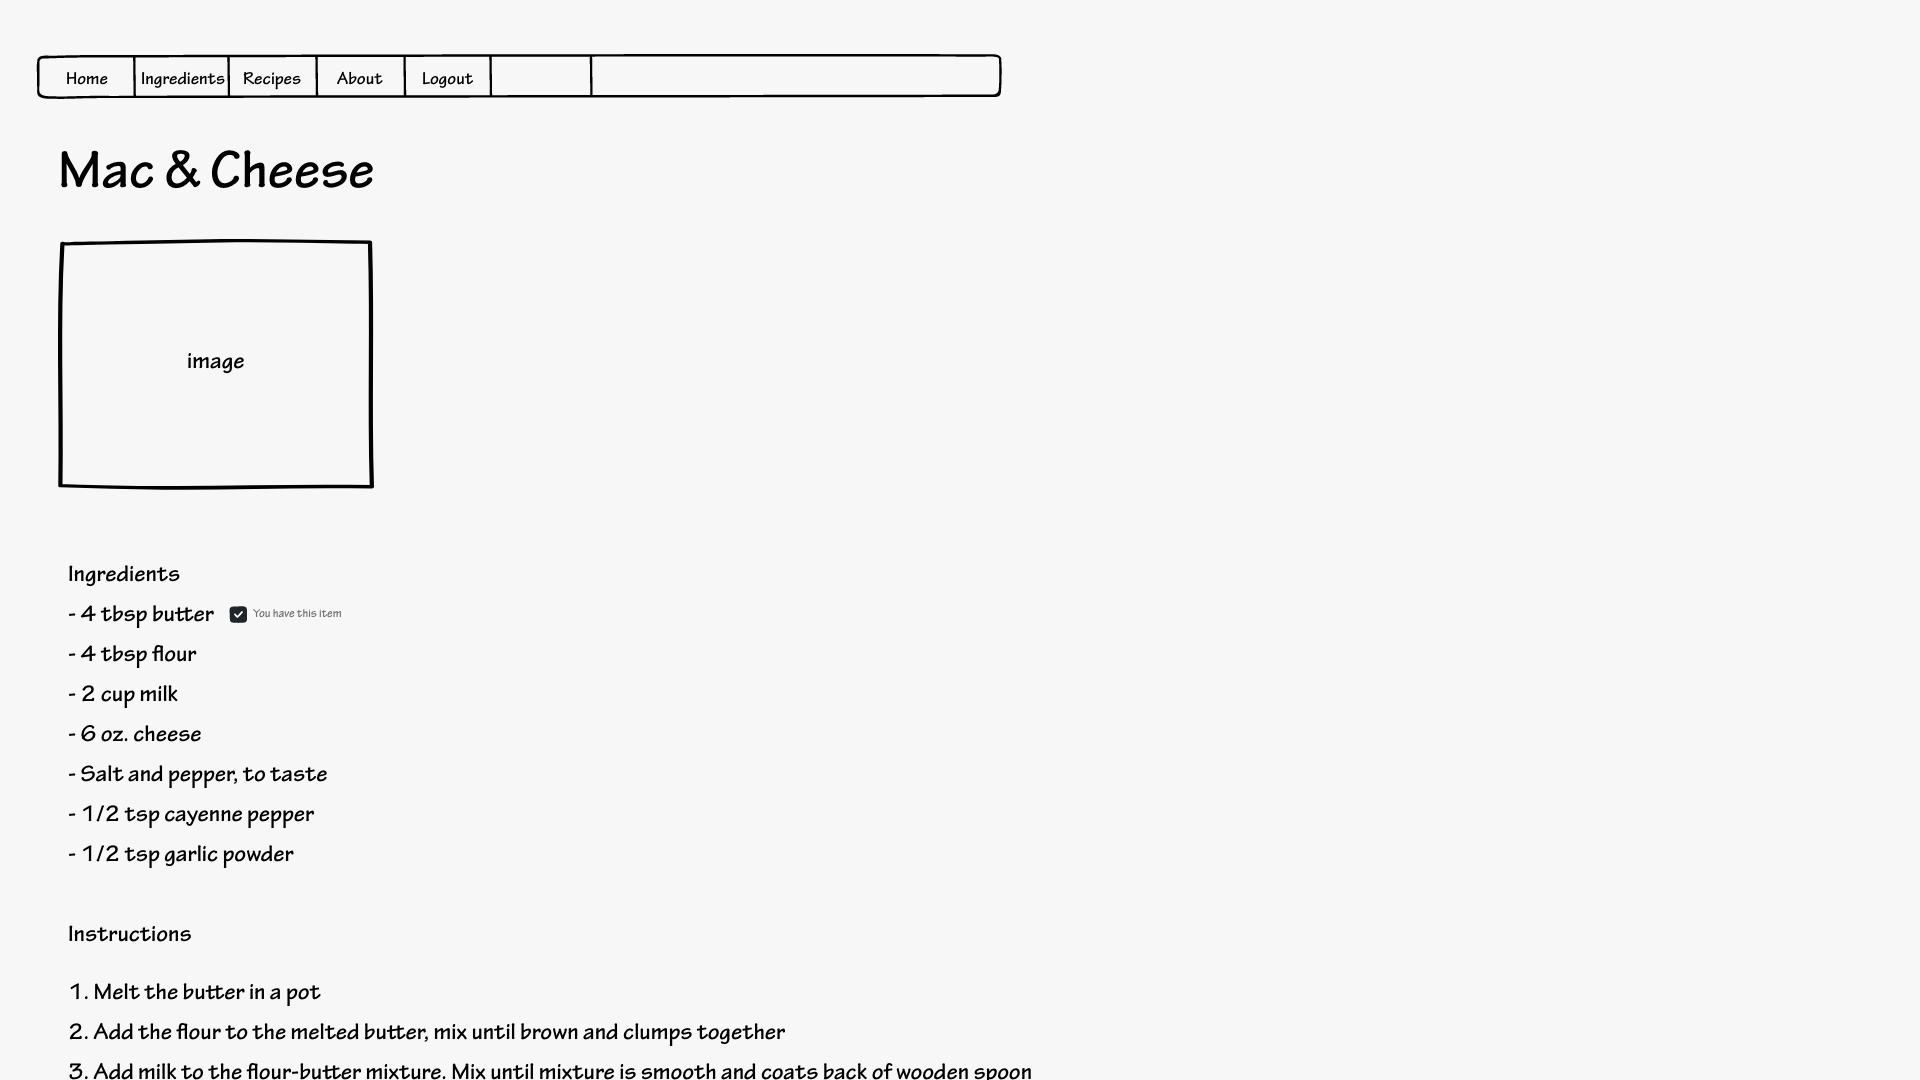
This is the detailed recipe page. This is the page that appears when a recipe is clicked either on the homepage or on the “my recipes” page. The checkbox by the item tells you which item the recipe uses from the checked items you want to use. In this example, butter has the checkbox because it is checked in the food items table.
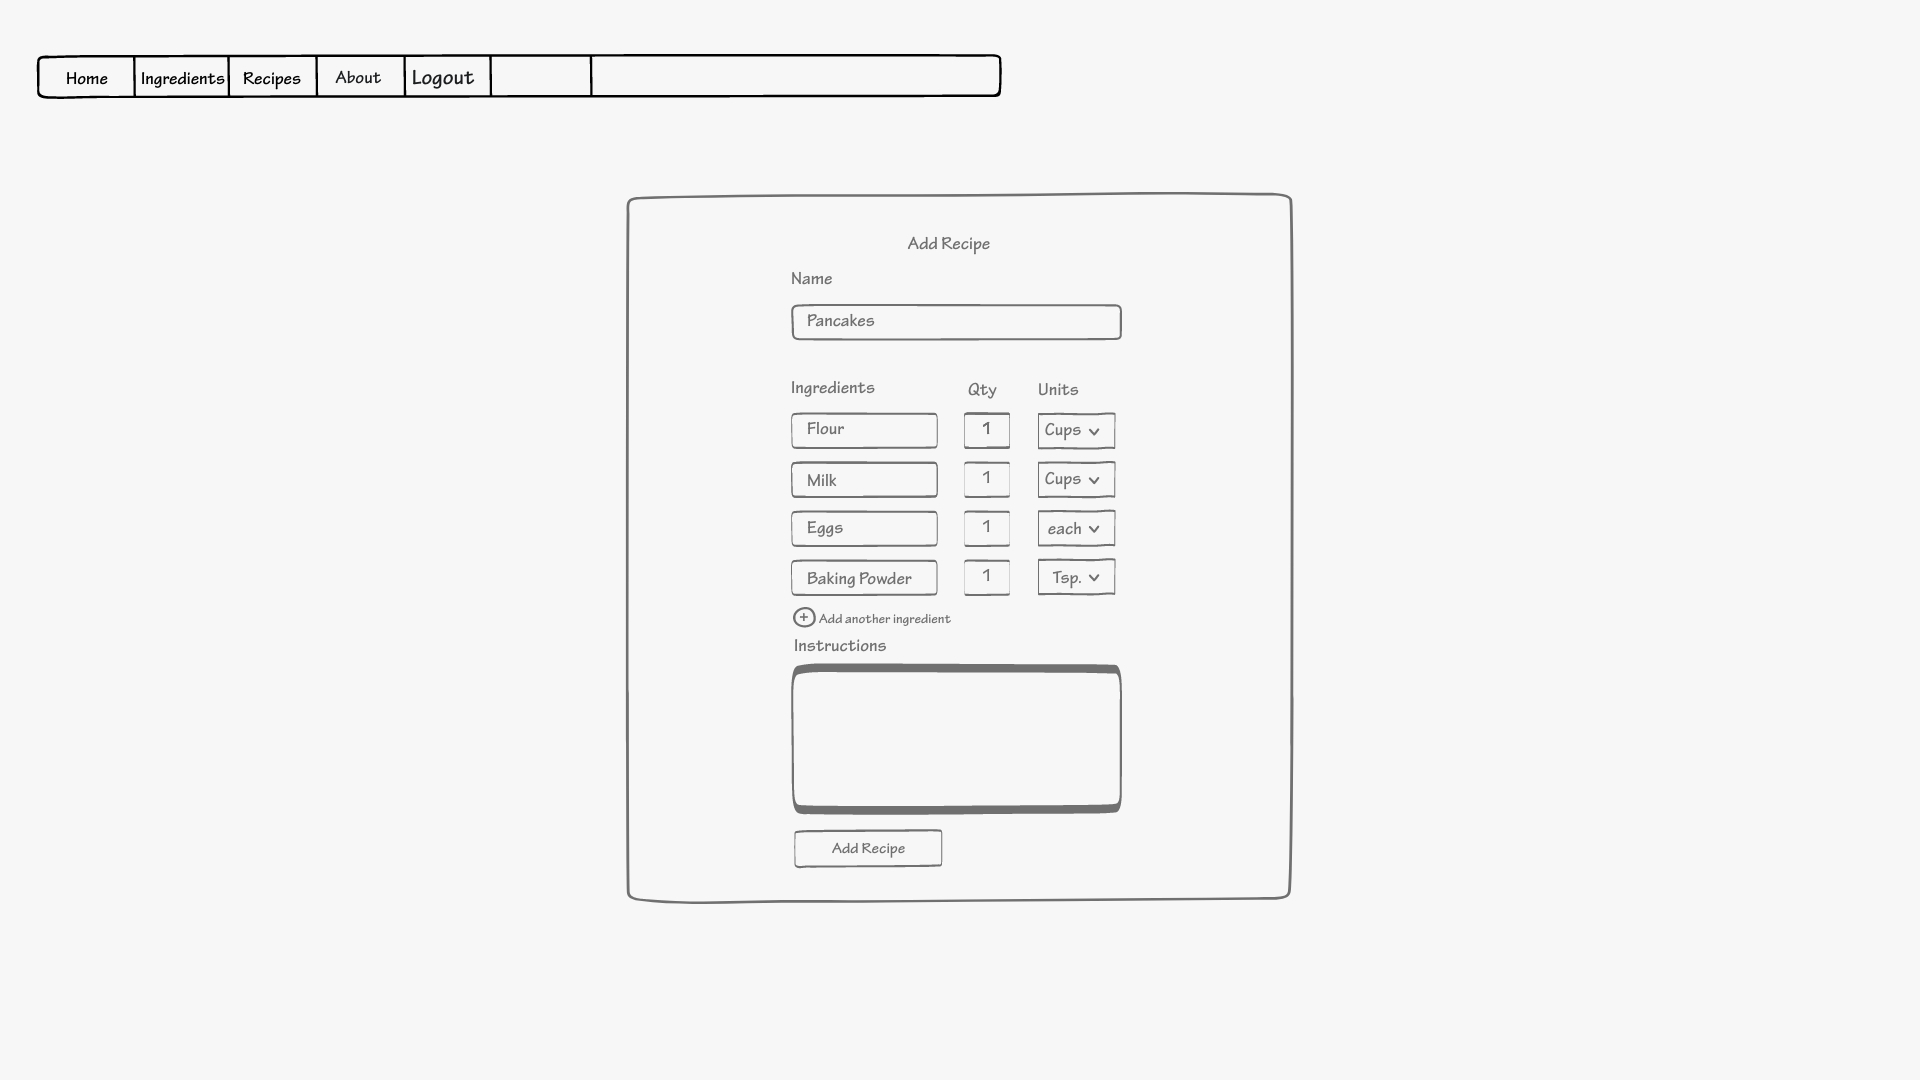
This is the add recipe page that is prompted when the user clicks the “add a recipe” button on my recipes page. The user inputs all the information needed and clicks the “add recipe” button. After that, it can be seen on the “my recipes” page as shown in the second image below.
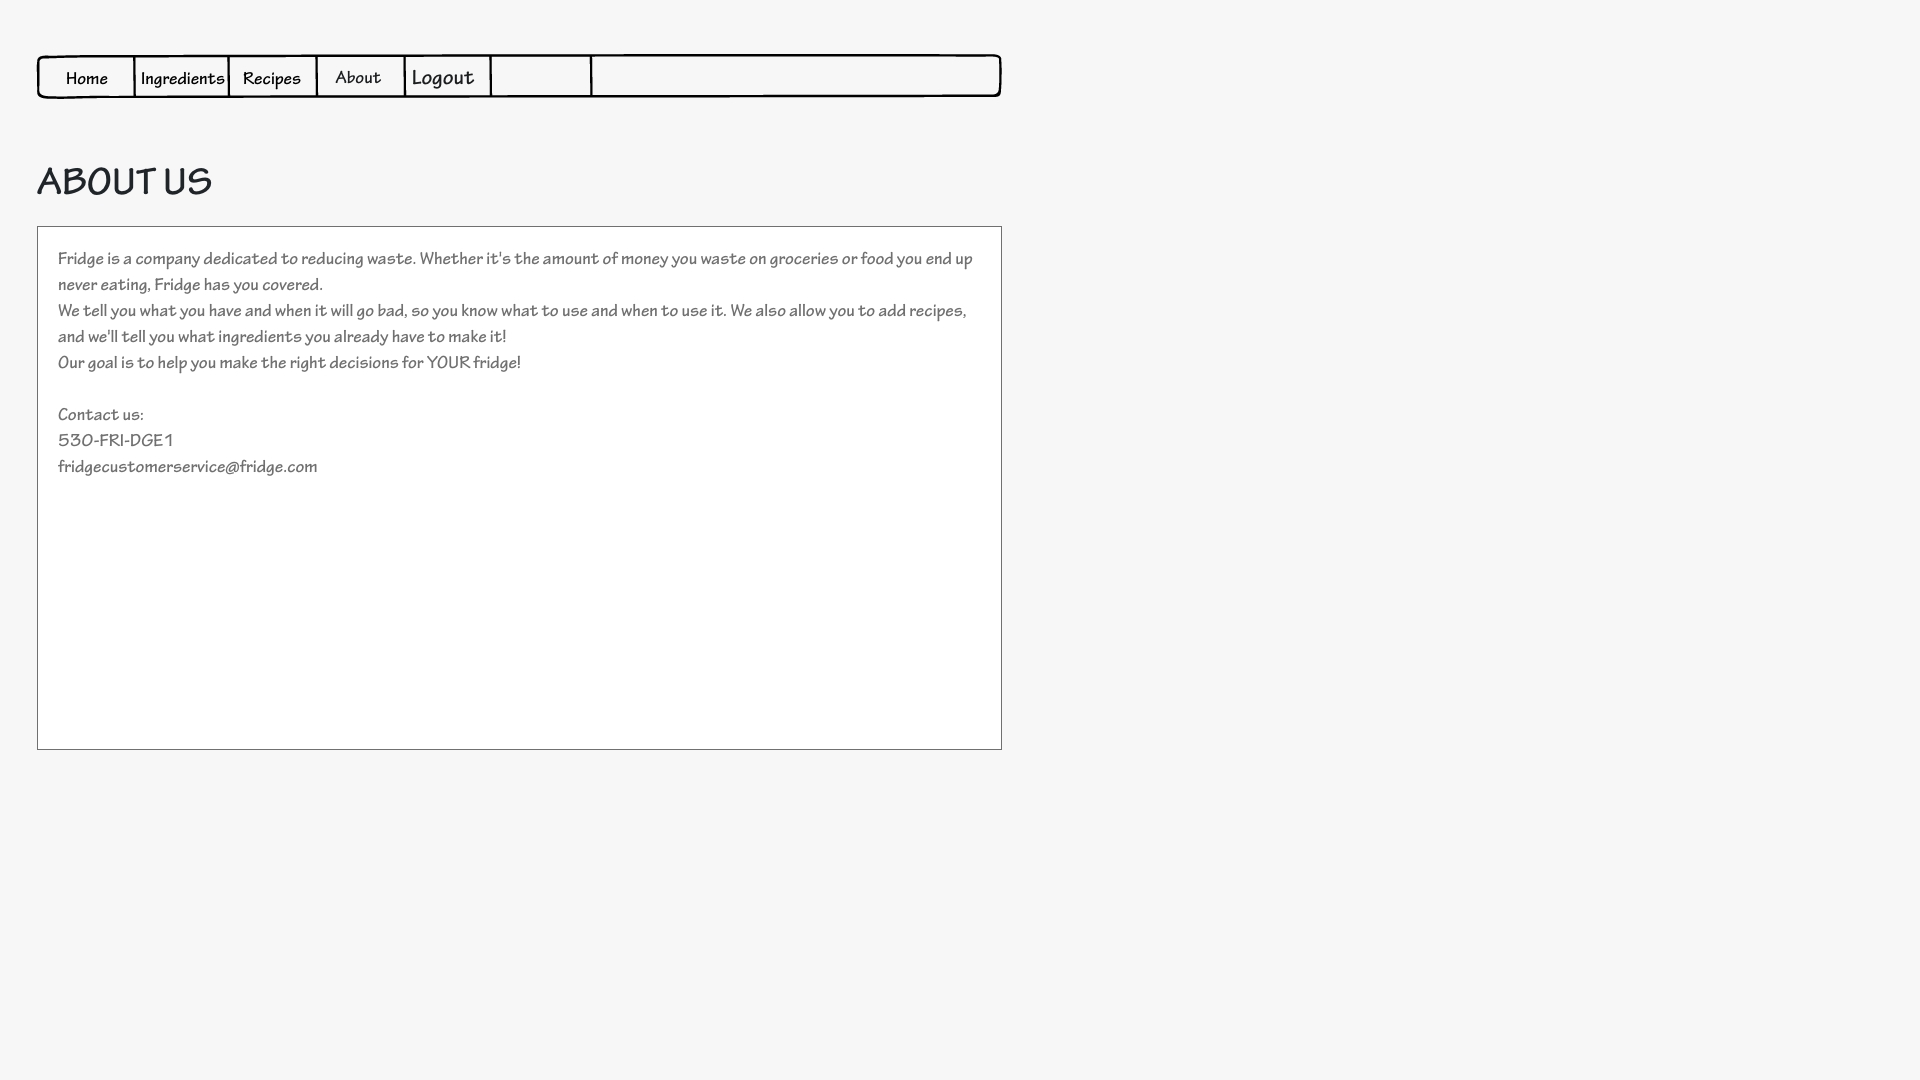
This is the “about us” and “contact us” page where users can learn more about us and find ways to contact us for any reason.
